Empower Your Kids: Top 15 Life-Saving Fire Safety Tips & Skills

Fire safety tips for kids and families should start with education and awareness. Both are critical factors when discussing emergency and life-saving measures. Here are 15 life-saving fire safety tips and skills to teach kids, help your family in an emergency, and keep everyone safe.

But first, it’s essential to understand that a fire can start in or around your home in many ways.

THE TOP CAUSES OF HOUSE FIRES:

  • Unattended cooking in the kitchen
  • Heating appliances, including fireplaces
  • Electrical fires from faulty wiring
  • Careless smoking
  • Unattended candles
  • Poorly managed outdoor fires
  • Incorrectly stored flammable liquids
  • Christmas trees and decorations

Knowing how your kids will respond, with or without supervision, to these fire emergencies will save lives and property. If you haven’t considered it, NOW is the time to enlighten your family members with life-saving fire safety tips!

This advice and these drills can be broken into three categories. The first has to do with:

EQUIPMENT AND PLANNING:

  1. Test smoke alarms and carbon monoxide detectors
  2. Discuss a family’s “Fire Escape Plan
  3. Practice fire drills
  4. Fire extinguisher training
  5. Memorize emergency numbers

Smoke and Carbon Monoxide Detectors: Teach your children what the smoke alarms sound like. Get in the habit of testing your smoke alarms and changing the batteries twice a year. Do it when you turn your clocks from standard to daylight savings time and vice versa. Or, do it on the first of the year and the 1st of July. Or, maybe change them out on the summer and winter solstice. The point is to do it regularly.

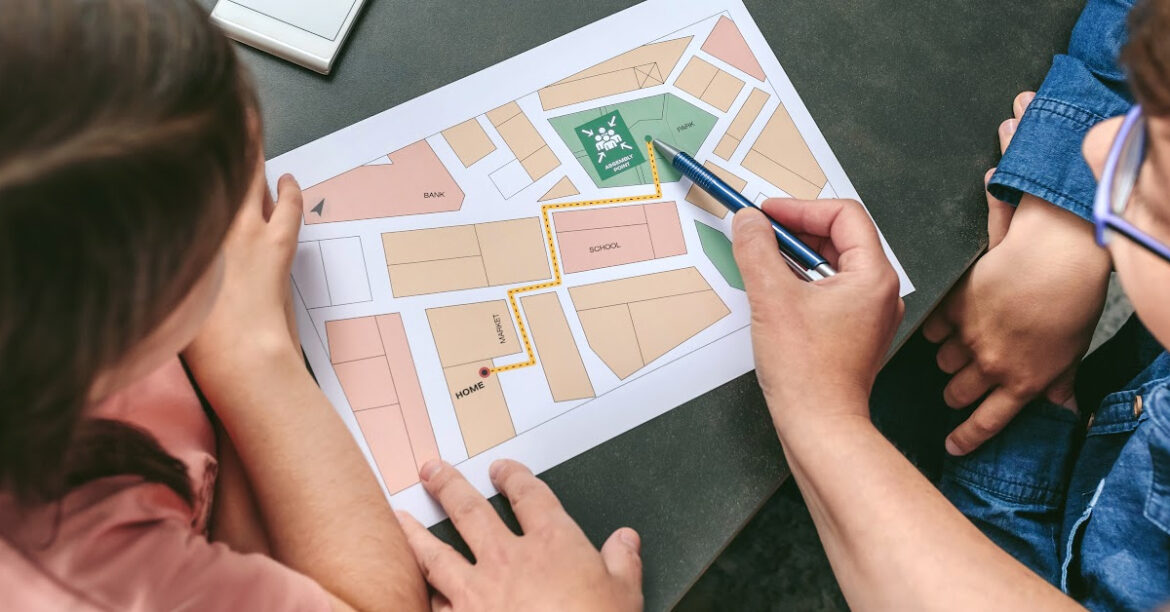
Escape plan: When developing a fire escape plan, make sure to have the whole family involved. Here are some points you can cover as a suggestion:

  • Have a family meeting spot.
  • Discuss escape routes using different scenarios.
  • How would you get out of the house in the morning? At mealtime? How about in the middle of the night?
  • What if Mom and Dad were not home? Or if you were alone.

Practice Fire Drills: Involving the whole family can make it a ‘fun’ experience for the kids. For example, you could review the family escape plan when you change the smoke detector batteries twice a year. Practice your escape plan with your family members and help them understand how serious a house fire can be.

If yours is a two or three-story house and the stairway is blocked, is there an emergency rope ladder that could be hung from a window? The National Fire Protection Association and other safety associations strongly recommend that each occupied room above the main floor have an escape ladder. They are compact and easy to store. Are your older kids able to assist and help supervise the younger ones?

Fire Extinguisher Training: Teach your older, more responsible kids how to use a fire extinguisher. This includes using the P.A.S.S procedure, which shows how to pull the safety pin, where to point an extinguisher, and how long it will last. Please ensure it’s easily located, charged, and ready to use.

CHILDREN’S DO’S AND DON’T IF A FIRE BREAKS OUT:

  • Don’t hide, seek help
  • Get out, stay out & stay alive
  • Leave belongings behind
  • Stay low in smoke
  • Do not open hot closed doors

Scared and younger children may tend to hide during a fire. Emphasize, especially to the youngest, to “get out and stay out” of a burning house.

Parents Notes: Do not return to retrieve any prized belongings. The important papers, those memorable photos, that expensive artwork on the wall, or a little one’s favorite stuffed animal isn’t worth the risk. “Stuff” can be replaced, but lives cannot.

Also, remember there’s less smoke near the floor. So, crawl if you have to. If a door feels hot, do not open it. It’s essential to quickly and efficiently account for all family members.

When you’re safely out of a burning building, stay out. Have an assigned meeting place outside. Only trained firefighters should enter a home that’s on fire.

OUTDOOR FIRE HAZARDS CHILDREN TRAINING:

  • Outdoor fire safety awareness
  • Campfire cooking classes
  • Stop, drop & roll
  • Survival skills practice
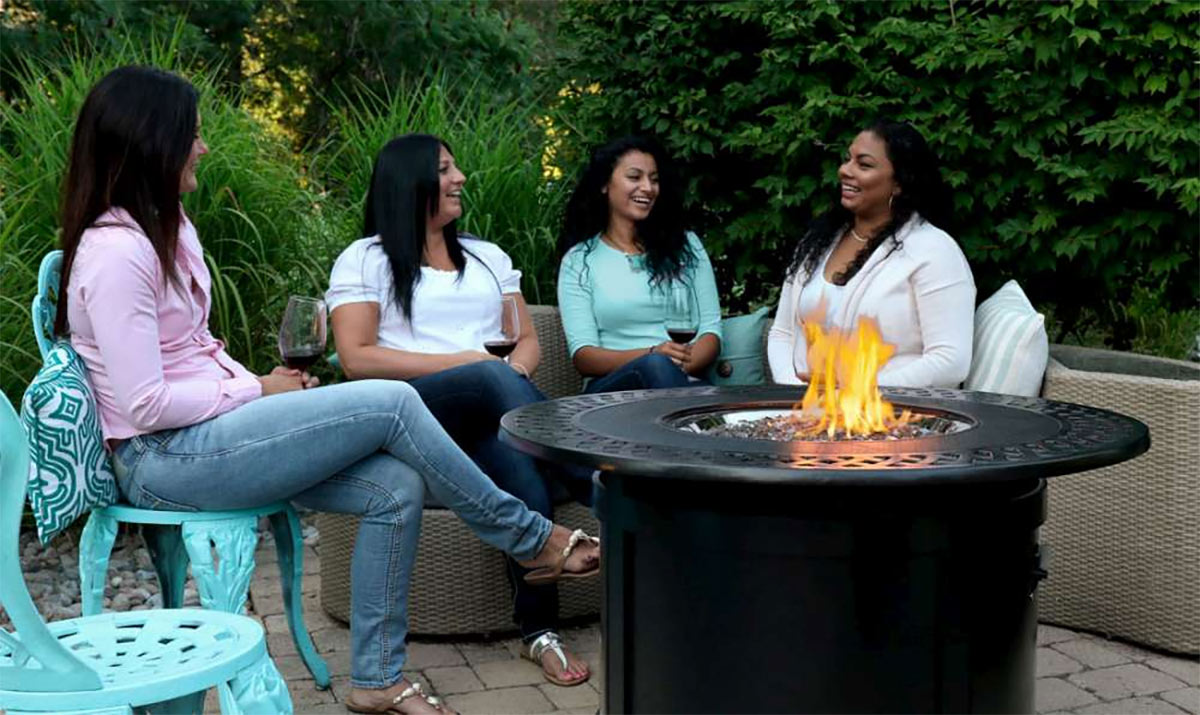
  • Fire pit construction

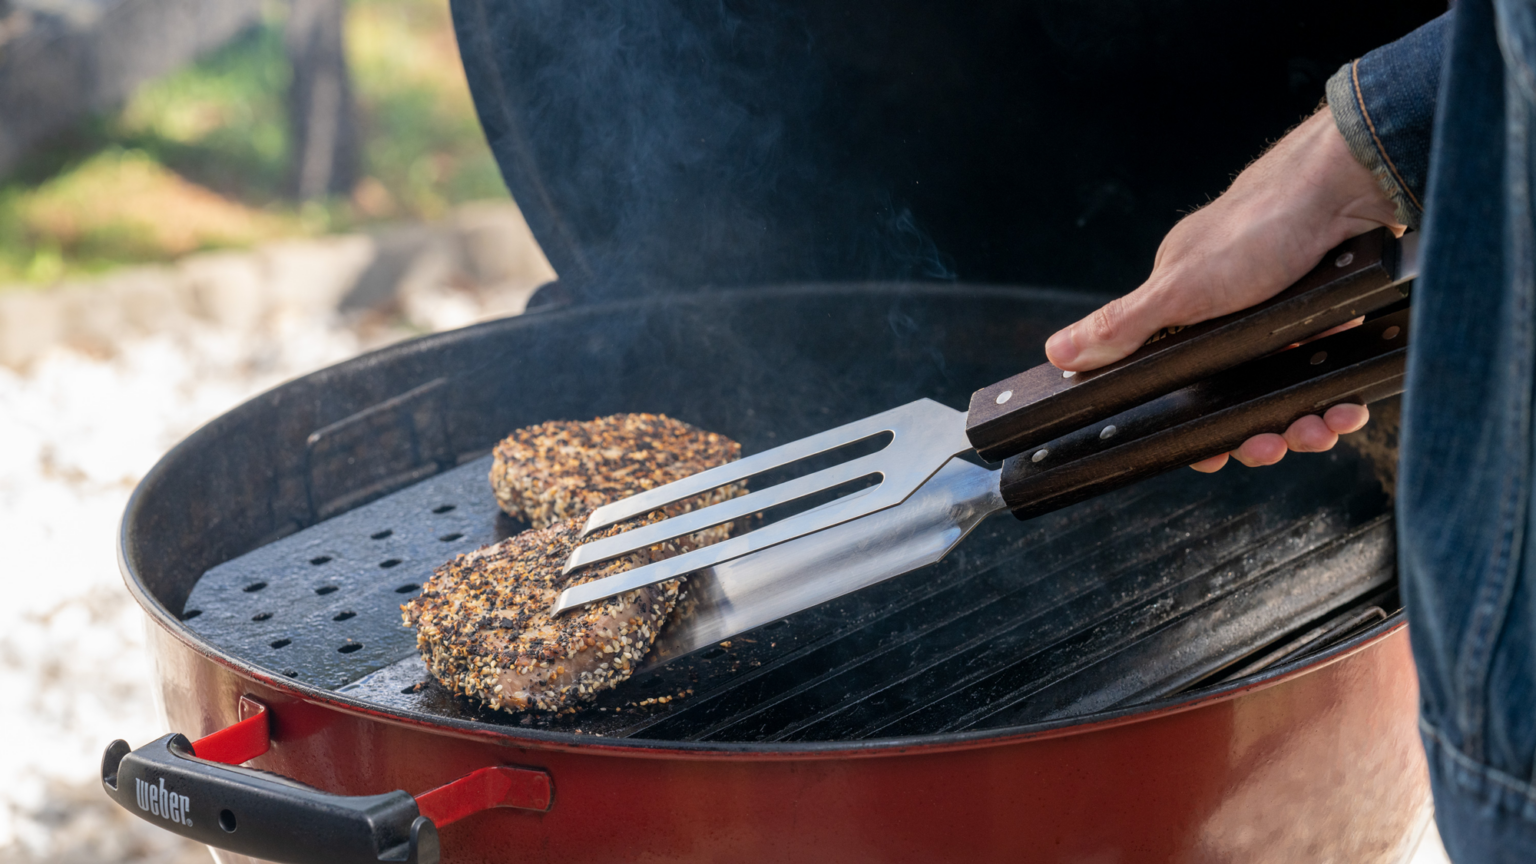
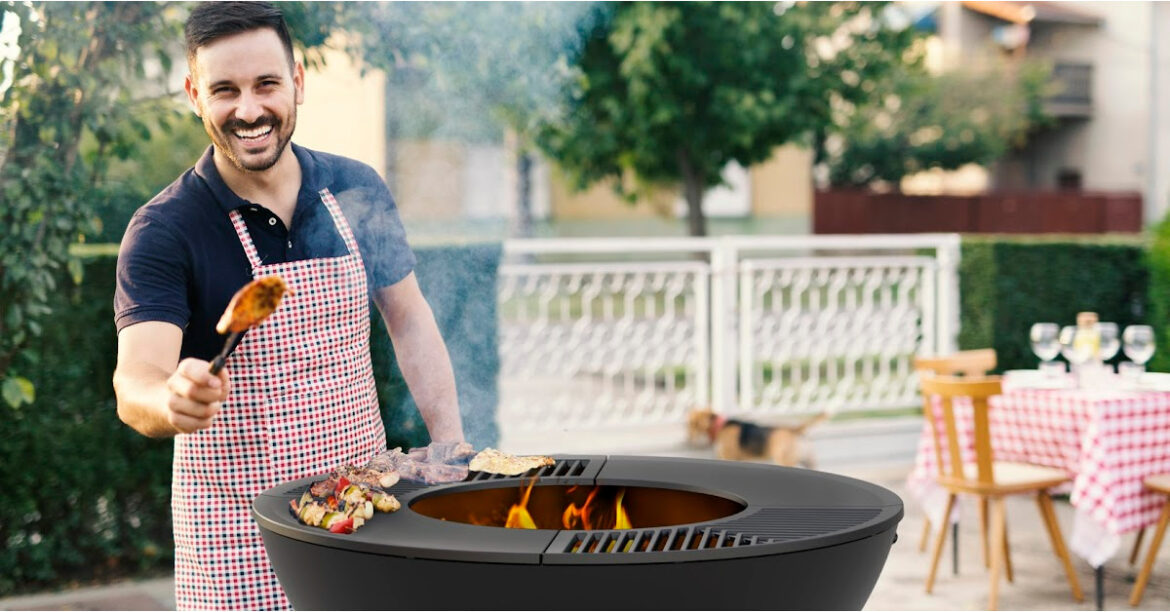
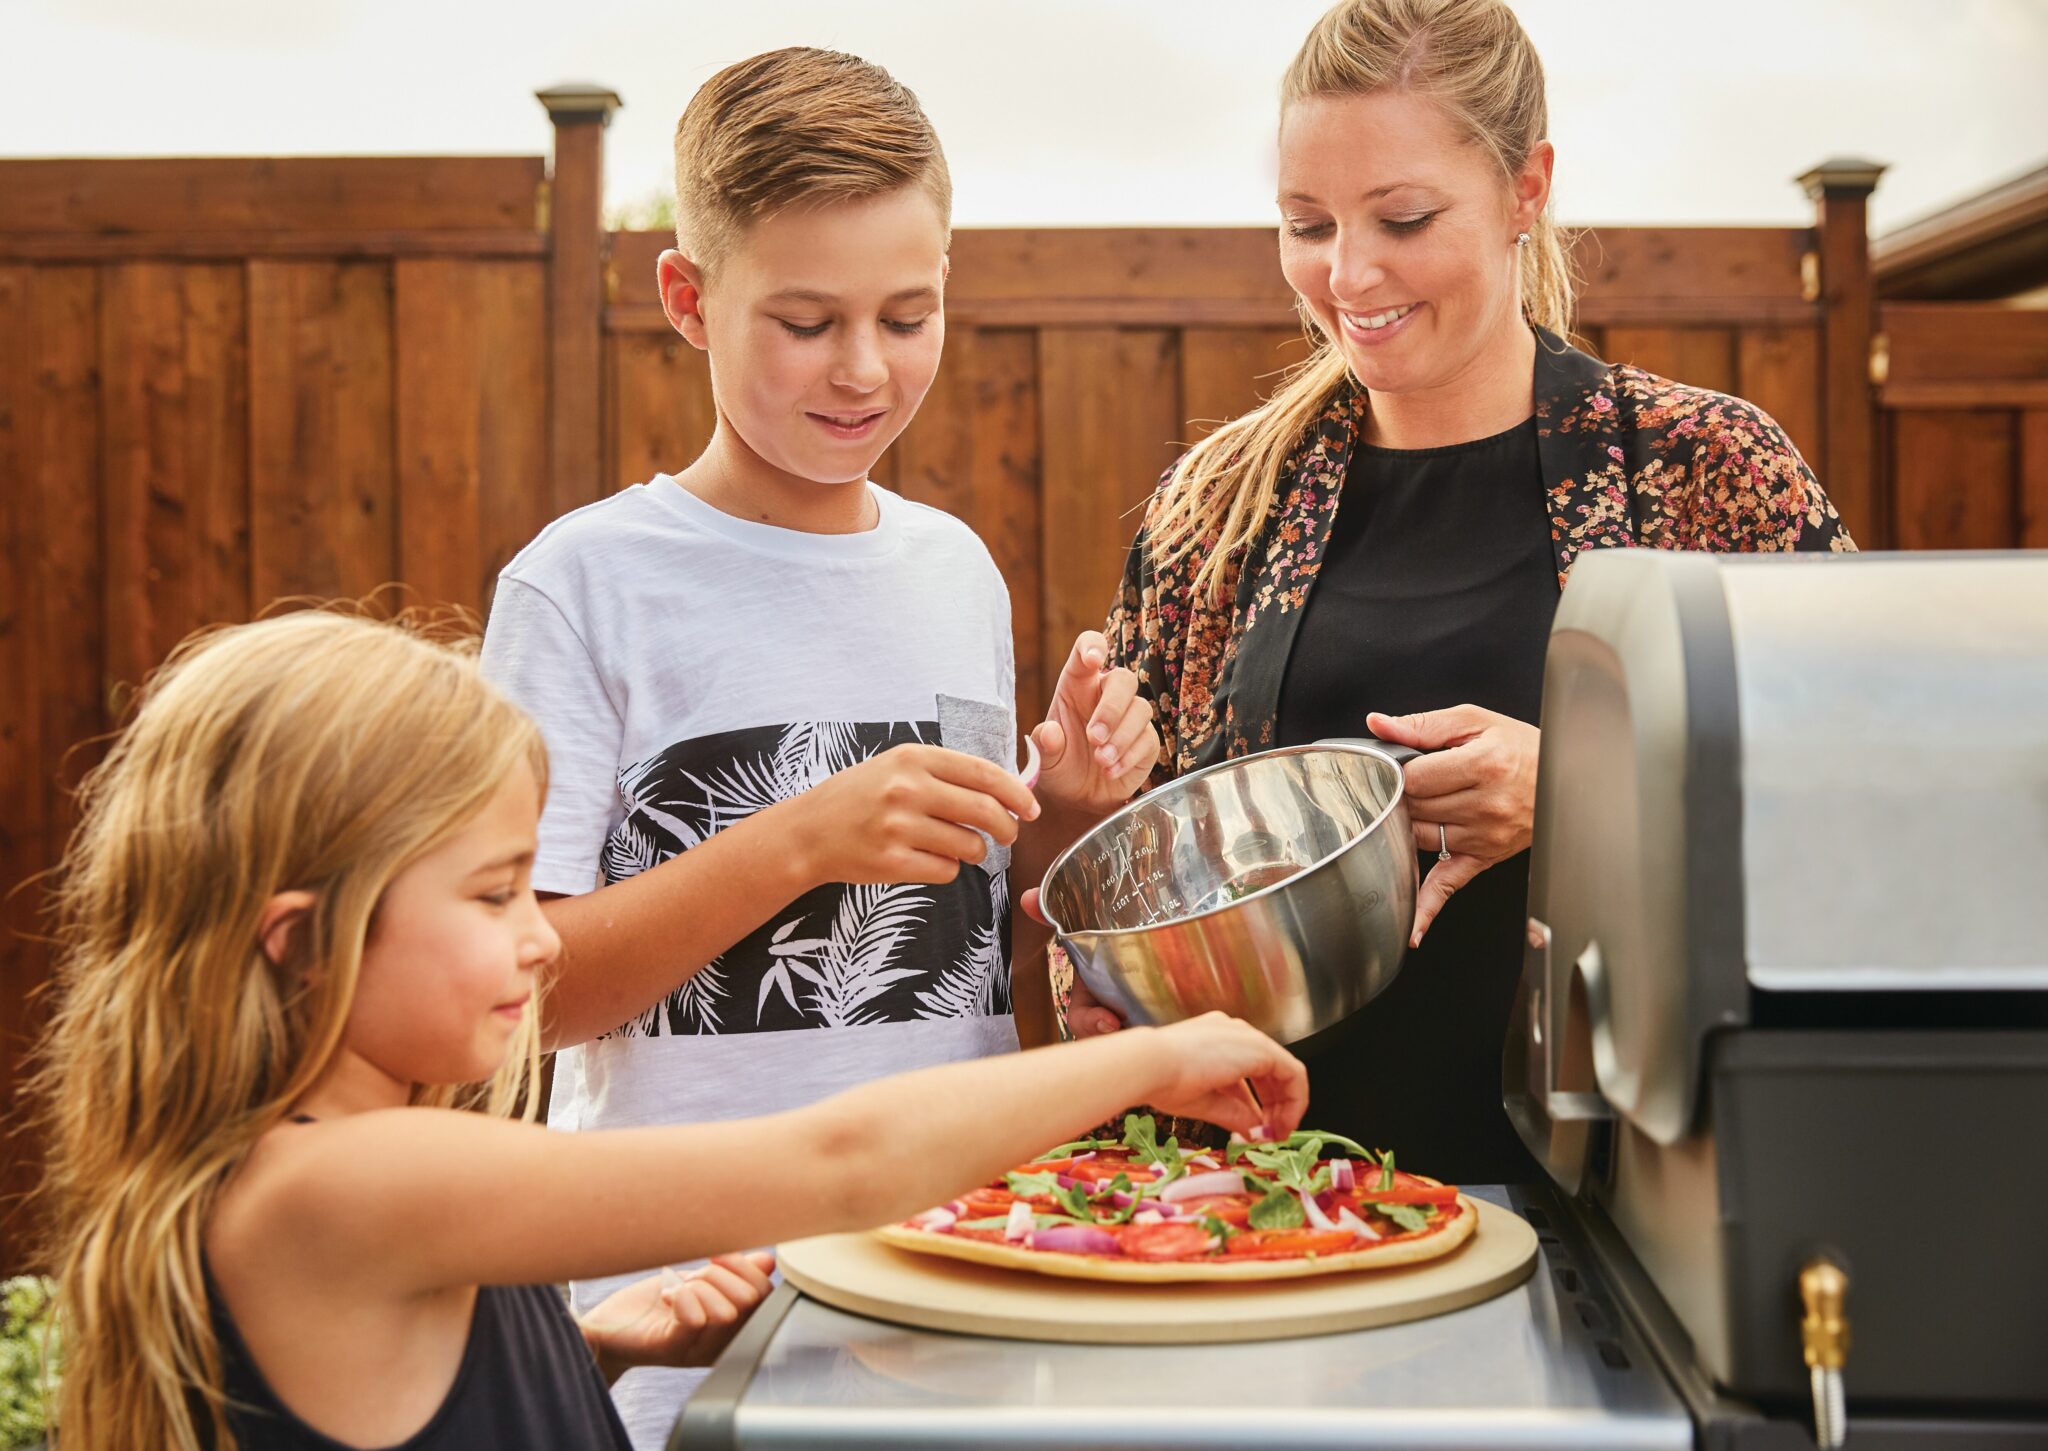
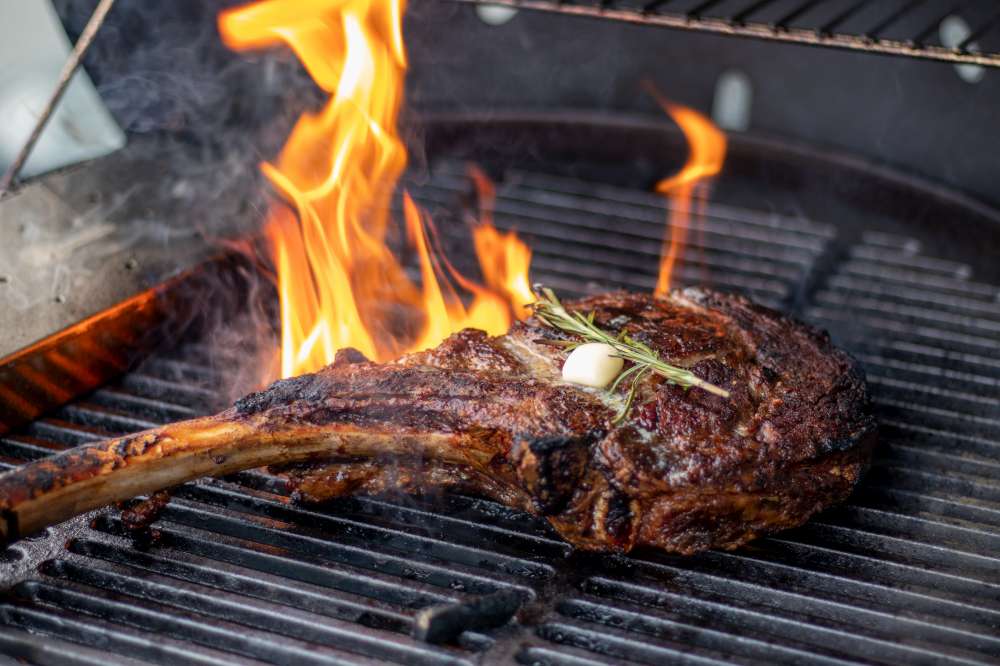
With backyard campfires so popular today, it’s a good idea to review safety precautions with all family members, not just the kids. If you’re planning s’mores or maybe something a bit more advanced, develop some fun cooking classes that everyone could participate in.

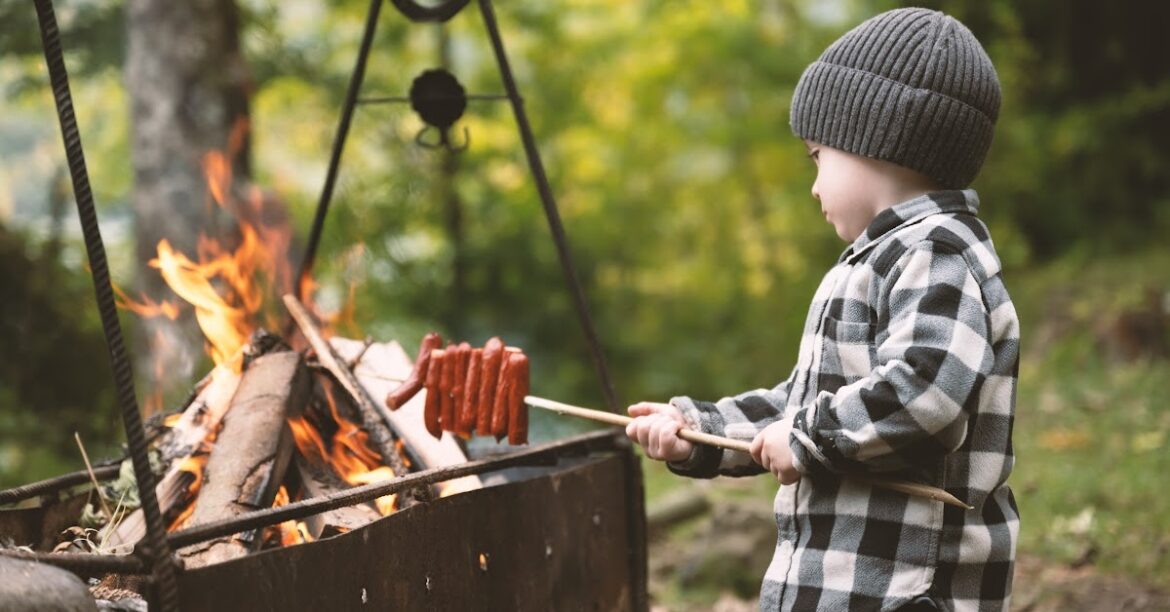
This could be part of a fun, family-orientated, ongoing survival skills exercise that could include many activities, including how to safely position, build, and use an outdoor fire pit. Start by learning how to safely make a fire, build a thick bed of coals for Dutch oven cooking, or cook on a grill over an open flame. Get creative with exciting recipes!

A most essential drill to teach youngsters is the STOP/DROP & ROLL technique if their clothes catch fire. Pray it never happens, but it’s always best to be prepared.

AVOID FIRE TRAGEDIES:

According to the US Fire Administration, the most recent 10-year average of house fires includes these startling statistics:

  • 374,300 fires
  • 2,720 deaths and more than 10,000 injuries
  • $9 billion in property damage

Sadly, fire departments respond to a fire somewhere in the US nearly every 30 seconds!

Meanwhile, in Canada, there are roughly 30 residential fires daily and approximately 200 fire deaths yearly.

Most of these tragic stories could have been prevented in Canada and the United States with the proper precautions and a safety plan. As parents, this knowledge comforts us, knowing that we can take steps to prevent such tragedies.

EMPOWER YOUR KIDS WITH THESE FIRE SAFETY RULES:

You can do many things to increase your child’s knowledge of fire safety. It starts with awareness and education. Please, at supper tonight, involve the entire family in a serious conversation about life-saving fire safety tips.

Discuss the importance of:

  • Never play with lighters or matches.
  • Have an escape plan and practice it with the whole family.
  • Stop/Drop & Roll if your clothes catch fire.
  • Knowing there’s less smoke near the floor. So, crawl to escape a fire.
  • Getting outside fast and go to the meeting spot. It’s scary when there’s a fire, but DO NOT hide.
  • Having your kids help remind you to test the smoke alarms routinely.

Protect your family with expert advice. Contact your local WE LOVE FIRE® dealer today for a free fire safety consultation and learn how to choose the safest appliances for your home.

Ultimate BBQ Accessories Guide: Elevate Your Grilling Game

Ultimate BBQ Accessories Guide: Elevate Your Grilling Game

When it comes to mastering the art of barbecue, having the right accessories can make all the difference. Whether you’re a seasoned grill master or just getting started, these essential BBQ accessories will help you take your grilling game to the next level.

Gloves

Let’s start with the basics – gloves. Overcome the limitations of traditional mitts with gloves designed for barbecue enthusiasts. Made from materials like suede or aramid fibers, these gloves provide superior heat resistance and dexterity. They’re perfect for handling hot plates, grill grates, and other objects while ensuring a secure grip.

Wine-Soaked Cedar Grilling Plank

For a unique and flavorful twist to your grilled dishes, consider using a wine-soaked cedar grilling plank. Made from untreated wood, this plank imparts a delightful smoky wine flavor to your food. It’s an excellent alternative to traditional cedar boards and adds a touch of sophistication to your grilling experience.

Shredding Claws

If you love pulled pork, beef, or chicken, stainless-steel shredding claws are a must-have accessory. These versatile tools make shredding meats a breeze. Additionally, they can be used to hold foods in place while cutting or transferring them from the grill to your plate.

Vegetable Roast Rack

Even vegetarians can enjoy the wonders of the grill with a stainless-steel vegetable roast rack. Elevate your vegetables while cooking, thanks to its convenient openings of variable dimensions. Try it with a delicious recipe for grilled peppers stuffed with vegetarian chili for a satisfying meatless option.

Terrace Protection Carpet

Accidents can happen, but you can prevent them with a specialized fireproof carpet designed to protect your terrace. Not only does it shield your deck from stains and messes, but it also provides extra protection against fire hazards. Plus, it’s easy to clean, making post-grilling cleanup a breeze.

The Scraper

Say goodbye to grill brushes’ bristle problems with the innovative scraper. Crafted from renewable materials like cedar or maple wood, this spatula-shaped tool molds to your grill grates over time. It’s eco-friendly, safe, and effective at cleaning, making it a game-changer for grill maintenance.

Baking Sheet

A clean grill is essential, and a non-stick baking sheet is your best ally in achieving this. Cookina’s reusable baking sheet is not only eco-friendly but also easy to clean and capable of withstanding high temperatures. Say goodbye to grease-related flare-ups and hello to perfectly grilled delights.

Steam Brush

To keep your grill immaculate, consider a steam brush. Unlike traditional brushes, this innovative tool uses steam to soften residue on the grill, making it easier to remove. Its stainless steel bristles ensure thorough cleaning, leaving your grill grates spotless.

Himalayan Pink Salt Slab

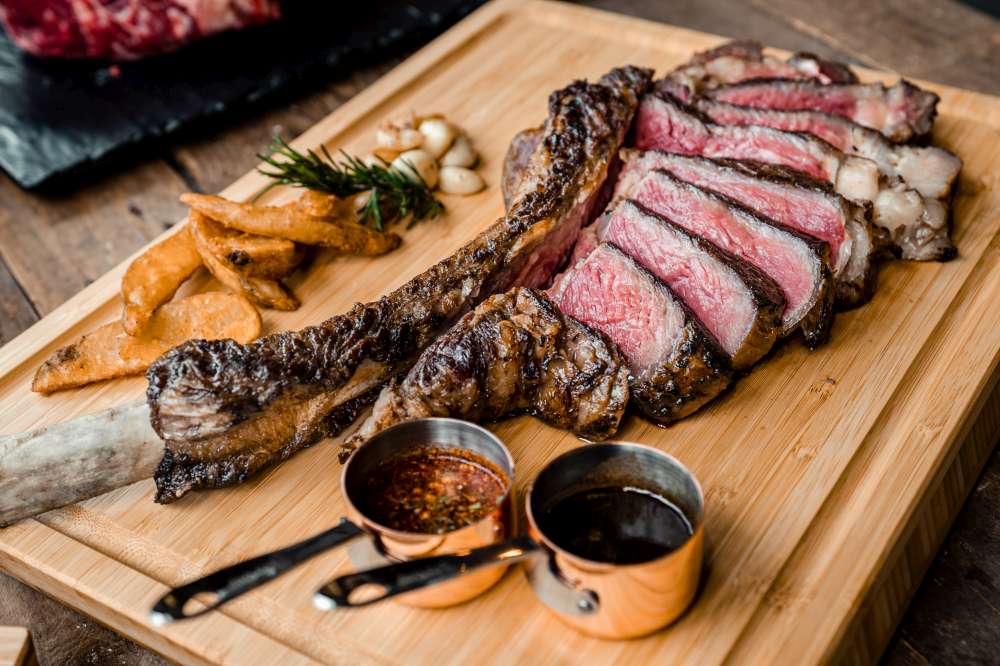
Elevate your grilled or baked dishes with a Himalayan pink salt slab. Mined from the Himalayas in Pakistan, this natural, iron-rich mineral salt is renowned for its purity. When heated gradually on your grill, it imparts a unique flavor and presentation to your food that’s sure to impress your guests.

Wok by Napoleon

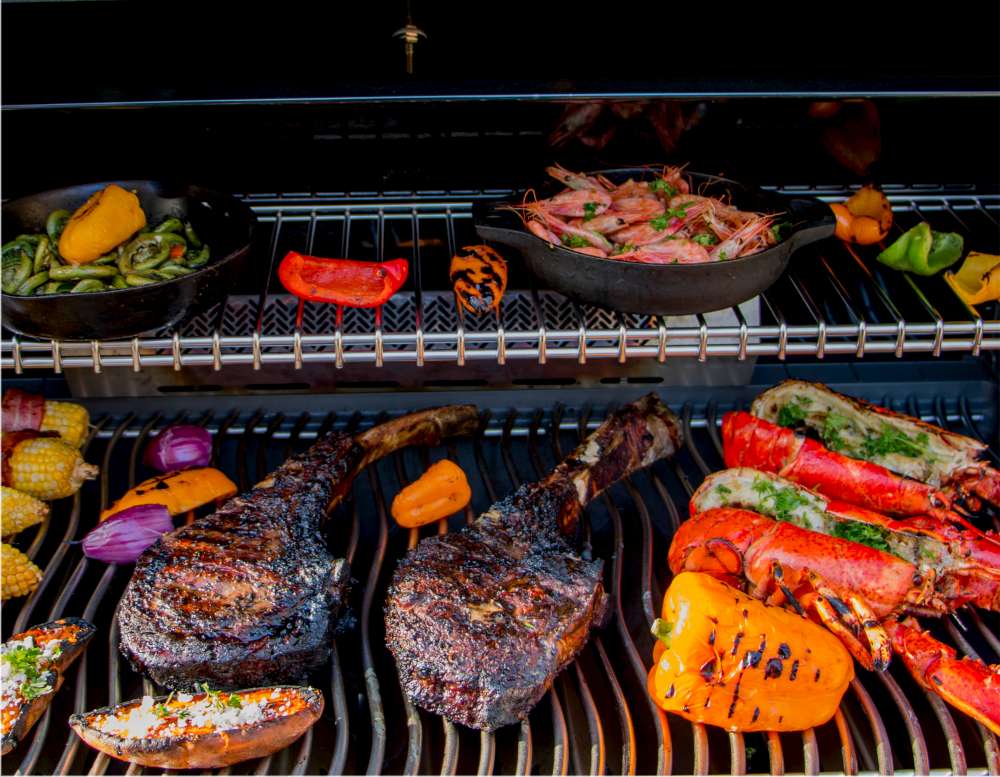
Vegetable lovers, rejoice! Woks aren’t just for stir-fries; you can use them on the barbecue too. Whether you’re cooking up a side dish or a whole chicken on a beer can, there’s a wok for the job. Experiment with diverse flavors and textures right on your grill.

Rotisserie Kit

Take your grilling adventures to new heights with a rotisserie kit. Perfect for evenly cooking large cuts of meat or poultry, this accessory ensures succulent and flavorful results. Whether it’s a chicken on a can of beer or a prime rib roast, the rotisserie kit has got you covered.

Additional Lighting

As the days get shorter, having adequate lighting is crucial for successful grilling. An LED light can illuminate your cooking area, allowing you to grill with confidence even after the sun goes down. Enjoy extended BBQ sessions and perfectly cooked dishes with the right lighting.

Cookina Reusable Grilling Sheet

This ingenious grilling sheet from Cookina is a game-changer. Reusable and easy to clean, it enables oil-free and fat-free cooking while preventing flare-ups. Ideal for protecting the environment and simplifying cleanup, it’s a versatile alternative to traditional aluminum foil.

Grill Thermometer

To achieve perfect doneness every time, a grill thermometer is an indispensable bbq accessory. Monitor the internal temperature of your meats with precision, ensuring they’re cooked to perfection and safe to eat.

Grill Basket

Grill small or delicate items like vegetables, seafood, or diced meats with ease using a grill basket. No more worrying about your food falling through the grates.

Marinade Injector

Inject extra flavor into your meats by using a marinade injector. This handy tool allows you to infuse marinades, brines, or flavorings directly into the meat, resulting in enhanced taste and tenderness.

BBQ Tongs

Upgrade your grilling utensils with BBQ-specific tongs featuring long handles for easy food handling. They’re designed for precision and control when flipping and serving your grilled creations.

ComboTong by Grill Grate

Smoker Box

Enhance the smoky flavor of your grilled dishes with a smoker box. Ideal for gas grills, these boxes hold wood chips, infusing your food with that irresistible smokiness.

Grill Cover

Protect your grill from the elements and extend its lifespan with a durable grill cover. It’s a simple yet essential accessory to keep your grill in top condition.

Grill Cleaning Tools

Keep your grill in pristine condition with dedicated cleaning tools. Options like grill stones, wipes, or cleaning sprays make maintaining your grill easier than ever.

Skewers

For delicious kebabs, invest in skewers. They come in various materials, including metal and bamboo, and are perfect for grilling meat and vegetables.

Skewers by Napoleon

Grill Mat

Prevent food from sticking to your grill grates by using a non-stick grill mat. These mats make grilling delicate items like fish or small vegetables a breeze.

Meat Claws

Make shredding meats like pulled pork or chicken effortless with meat claws. They’re designed for pulling apart cooked meats quickly and efficiently.

Grill Grate Lifter

If you have a grill with removable grates, a grate lifter is a handy tool for adding charcoal, wood, or maintaining the fire easily.

BBQ Apron

Stay clean and stylish while grilling with a BBQ apron. It’s not just practical; it’s a statement piece for every grill enthusiast.

Photo by Hearthstone

Ribs Rack

If you’re a fan of mouthwatering ribs, a ribs rack is a must-have. This accessory allows you to grill multiple racks of ribs simultaneously, optimizing your grill space and ensuring evenly cooked, tender ribs every time.

Grill Rotisserie Basket

Expand your grilling horizons with a grill rotisserie basket. Perfect for cooking delicate items like fish fillets or smaller veggies, this accessory ensures they’re evenly cooked and infused with that irresistible grilled flavor.

Grill Plancha

For a versatile cooking surface, consider adding a grill plancha to your arsenal. This flat-top grill accessory is excellent for cooking a wide range of foods, from pancakes to stir-fries, providing consistent heat and exceptional searing capabilities.

Fish Accessories

If you’re a seafood enthusiast, don’t forget fish accessories. From fish baskets to grilling planks, these tools make it easy to grill fish to perfection, preserving its delicate texture and enhancing its flavor.

Pizza Stone

A pizza stone is an essential BBQ accessory that enhances your grilling experience. This thick stone evenly distributes heat on your grill, ensuring crispy and perfectly cooked pizzas. It’s not just for pizza; you can also use it for baking bread and other delectable treats, making it a versatile addition to your outdoor cooking arsenal. Elevate your BBQ game and enjoy restaurant-quality pizzas and more right from your grill.

Pizza Stone by Napoleon

In summary, the world of BBQ accessories offers a wide array of tools to enhance your grilling experience. From essential items like gloves and grill thermometers to innovative additions such as wine-soaked cedar planks and pizza stones, these accessories elevate your outdoor cooking game. They provide precision, convenience, and safety, making your BBQ adventures even more enjoyable. So, whether you’re a seasoned grillmaster or a casual griller, these accessories can help you create mouthwatering meals and unforgettable moments. Upgrade your toolkit and become the ultimate grill enthusiast. For more information and to purchase these fantastic accessories or an amazing bbq, reach out to your local WE LOVE FIRE® dealer and take your grilling game to the next level. Happy grilling!

How to Choose a Gas Fire Pit

How to Choose a Gas Fire Pit

There is something incredibly appealing about it, gazing into the flames of an outdoor fire with family members and close friends. It’s fun and relaxing, and even therapeutic.

There are many options for gas fire pits today. Making a purchase decision can be somewhat confusing. How can you determine what’s right for you? Which features should you look for? If you’re thinking about how to enjoy a new gas fire pit this season, the process begins right now!

THE ADVANTAGES OF A GAS FIRE PIT

  • CONVENIENCE

All the advantages that apply to your gas fireplace are also true for an outdoor fire pit, including convenience. No need to split wood and kindling and keep dry, no more storing wadded newspaper or cleaning up ashes. With a gas fire pit, all you need to do is grab your favorite beverage, push the button or use the remote control, and relax! The fire is easy to get going, and the flame height is easily adjusted.

  • FLEXIBILITY

Another considerable advantage is the flexibility of gas fire pits. Many are portable and can be used on a deck. Opt for a fully assembled, packaged kit. They come in dozens of shapes, sizes, and finishes. Whether you’re looking for a big fire pit that can push out some heat with its 50,000 BTU or a gas fire pit coffee table, fire bowl or set of columns or torches to light your walkway.

  • ENVIRONMENTALLY FRIENDLY

Natural gas fire pits or LP gas produces extremely clean burning flames — no need to be concerned about soot, ashes, or harmful by-products, they’re smokeless fire pits! Unlike wood-burning fire pits, you can enjoy your time around the fire without constantly re-positioning your chair to get away from the annoying smoke.

WHAT ARE THE FIRST STEPS?

First, you will need to determine where the fire pit will be located. Keep in mind that all manufacturers have different regulations. Some have approved their products for installation on a wooden deck, for example, whereas some have not. Make sure you check. Regardless, it’s always a good idea to keep a fire pit at least 15 to 20 feet from the house, garage, shop, etc.

Are you going to use natural or LP gas? With natural gas, a line from the house or meter connection will need to be permanently plumbed to the site by a professional. You will not have to worry about running out of gas by connecting to natural gas supply. Permanent, built-in fire pits often use natural gas.

By comparison, an LP gas fire pit can be easily moved and relocated depending on the layout of your outdoor space, the time of the year, special events, etc. A 20-pound propane tank is typically hidden within the base of the unit. Just remember to check its weight periodically! You don’t want to run out before the s’mores or entertaining is done!

CUSTOM STYLE AND OPTIONS

Fire pit burners can be round, rectangular, square, or linear in shape. Use logs, glass rocks, pebbles, lava rock, and more, to create a unique experience for your family and friends. Metal fire pits are available in many finished such as cast iron and brushed stainless steel.

Bowls and tables are probably the most popular styles of fire pits. Fire bowls can be round or oval, square or linear, from 18” to 60” in diameter, or more. Finishes include copper, stainless steel, and cast aluminum. Or give it a custom look to complement your outdoor décor. There are easy-to-use ignition systems and room to hide an LP tank.

Fire pit tables are also popular because they provide space for snacks and drinks. Again, there are many sizes and shapes to consider. Functional designs always add a touch of comfort and class to outdoor entertaining.

Portable fire pits and fire tables can be easily moved and stored during the winter.

CHECK WITH YOUR LOCAL OFFICIALS

Be sure to check local codes and ordinances regarding the installation details of any fire pit. Requirements may directly impact the type and style fire pit you select.

HOW MUCH DO THEY COST?

The cost will depend entirely on your budget. The location and materials used will certainly have a bearing on the final price. But many fire pits are easy on the pocketbook. A portable model is easy to move around wherever the crowd gathers. Portable models will start in the $300.00 range and go up from there, and generally speaking, fire tables will cost $1200.00 and up.

The price for a custom-built, permanent fire feature can be several thousand dollars. But, consider the flexibility of different inserts, burners, rings, flame control systems such as glass wind guards, and finish with customized stone. Your outdoor living area will be so inviting and comfortable!

JUST RELAX AND ENJOY!

Today’s backyard fire pits could be considered functional pieces of outdoor furniture. They will serve as the centerpiece of your gathering area, where you’ll relish moments with loved ones, partaking in outdoor activities like games, laughter-filled conversations, and peaceful relaxation. So, be prepared for many new memories! Your new outdoor entertainment area will be an extension of your lifestyle and the focal point of your outdoor living room.

Contact a local We Love Fire retailer below for choice products and individualized service!

How to Cook the Perfect Tomahawk Steak

Who doesn’t love a tomahawk steak cooked to perfection? Cooking this rather large piece of meat can be intimidating to many. In this article, you’ll learn more about the tomahawk steak and how to cook it.

What is a Tomahawk Steak?

The tomahawk steak is a ribeye beef steak specifically cut with between 5 to 6 inches of rib bone left intact. The average tomahawk steak is 2 inches thick.

An entire tomahawk steak is suitable for those with a large appetite. Generally, they are served sliced on a wooden board and shared amongst a few people.

Since this cut of meat is quite expensive, you want to cook it well. Here are two recipes using two different cooking methods from pitmaster Malcolm Reed to help you cook your tomahawk steak successfully.

Cooking a Tomahawk Steak on the Barbecue

To perfect an authentic smoky flavour, cook your tomahawk steak on a charcoal grill. Using a gas barbecue can also yield good results.

Ingredients

  • 1  2.5 to 3 lbs. tomahawk steak
  • 2 tbsp or more of salt, pepper, garlic rub, or a seasoning of your choice
  • 1 tbsp steak spice, or a spice blend of your choice
  • 1 stick of butter
  • ¼ cup olive oil
  • 1 bunch fresh rosemary
  • 1 bunch fresh thyme
  • 1 head of garlic, peeled

Preparation & Cooking

Generously cover all sides of your tomahawk steak with salt, pepper, and garlic rub. This mixture creates the flavour base for the steak.

Let stand for 30 minutes at room temperature to allow the seasoning to penetrate the meat.

No matter what type of barbecue you use, create two cooking zones; direct heat to sear the steak and indirect heat to cook the steak thoroughly. Preheat the barbecue to 316°C (600°F) and oil the grill.

Before throwing the steak on the grill, coat it with a thin layer of steak spice.

For the following steps, be sure to wear heatproof gloves to handle the steak without burning yourself.

Place the steak on the grill on direct heat and press it down to make sure it is in contact with the grill. Close the lid. After 2 1/2 minutes, rotate the steak 90° to get a nice grid pattern on the grill. Press the steak down, close the lid and let it sear for another 2 1/2 minutes. Repeat with the other side of the tomahawk steak.

Remove the steak from the heat and place it on the cooler side on a raised grill.

Place a foil pan under the steak and add the butter, rosemary, thyme, garlic, and olive oil. Close the lid of the barbecue.

As soon as the butter is melted, baste the steak with the mixture and close the lid. Repeat every 10 minutes until the steak is cooked to its desired doneness

by using a meat thermometer. Ensure the steak reaches an internal temperature of at least 125°F (52°C) for medium doneness.

Remove the steak from the heat and let it rest for 10 minutes on a wood cutting board before serving.

How to Smoke a Tomahawk Steak

A tomahawk steak is just as delicious when cooked in a smoker as when grilled on the barbecue. This technique is different, and so are the results in terms of flavour.

Ingredients

  • 1   2 inch thick tomahawk steak
  • 2 tsp. beef broth concentrate
  • 1 tbsp. spicy BBQ rub
  • 1 tbsp of steak rub
  • 1 stick of butter

Preparation & Cooking

Preheat your smoker to 275°F (135°C). Use hickory wood to add flavour to the meat.

Rub beef broth concentrate onto tomahawk steak, then coat with a thin layer of spicy BBQ rub. Add a thin layer of steak spice on top. Let the steak sit at room temperature for about 30 minutes.

Once your smoker reaches 275°F (135°C), place the steak on the grill with the probe in the center of the meat. Be careful not to stick it in a fat pocket.

Add a small foil pan with the sick of butter next to your steak. Season the butter with a bit of steak spice. Close the door or lid of the smoker.

Turn the meat over after 25 minutes to ensure even cooking.

When the internal temperature of the meat reaches 115°F (46°C), baste it with the butter mixture. Leave the door or lid of the smoker open to allow the flames to grow. When the internal temperature reaches 120°F (49°C), turn the steak over and baste the other side with the mixture.

Remove the steak from the smoker when its internal temperature reaches at least 52°C (125°F) for medium-rare. Let the meat rest for about 20 minutes before serving, giving a chance for the internal temperature to rise and the juices to be absorbed.

Discover Your Own Secret Recipe

The two recipes in this article will help you create a good foundation for cooking a tomahawk steak. Once you’ve tried them, don’t be shy to experiment with different spices, seasonings, and varieties of wood chips.

Eventually, you’ll master the art of cooking the tomahawk steak. By experimenting with different flavours, you will find the perfect cooking method and combination of seasoning to appeal to your taste buds, your own secret recipe.

For more barbecue recipes, visit the Top Chef Recipes page.

To find the perfect barbecue or smoker to cook your tomahawk steak, contact a We Love Fire retailer near you. They’ll be happy to advise you!